
| Howdy! Obie from Obie-Cue’s here. Nothing beats ribs at a party, and nothing’s easier than cooking them the day before and simply warming them up for the party. Here’s the rib recipe which will make you a BBQ Rib Champion! Bob Herring was a North Texas BBQ champion when he mentored me in competitive BBQ. Bob was famous for his ribs, and this is the exact technique which he taught me 30 years ago. The flavors I use are all mine, but the basic recipe I share with you now is Bob’s. Bob also taught me that sauce is for spaghetti, and I’ve never needed or used BBQ sauce. |
|
| Ingredients: Pork Ribs (full spares, St Louis spares, or loin-backs) Sweet Rub Sweet N’ Heat Apple Juice (both straight and in a spray bottle)Time: 2-3 hours dry marinating, 2-2½ hours smoking, 1½-2½ hours tenderizing
|
|
| Step 1: The Preparation
The technique has two components. First we set the flavor with spices and smoke, then we tenderize.
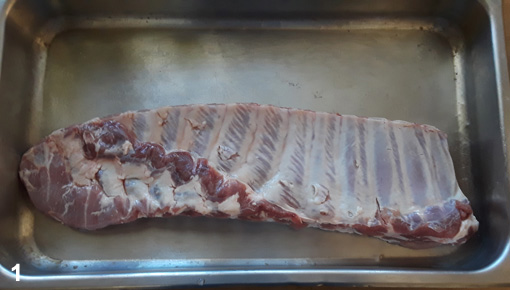
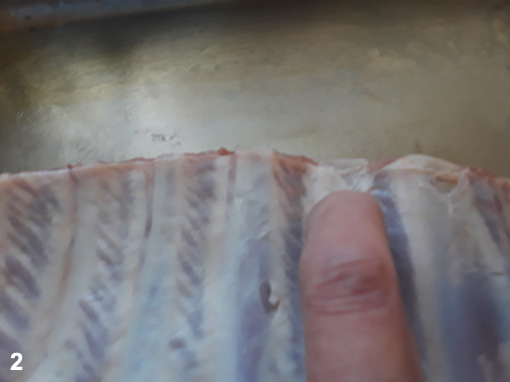
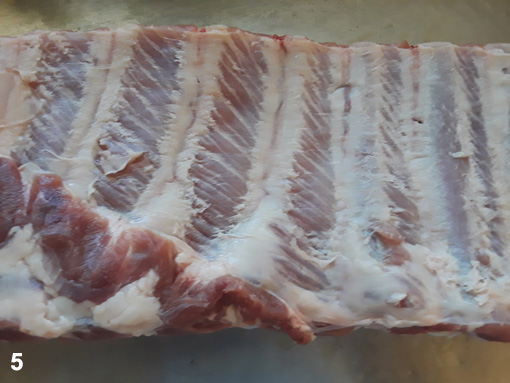
Image 1 shows both membranes on St. Louis trimmed spare ribs. Start peeling by catching the membrane over a bone with your fingernail, about 1/8 inch in from the cut edge. Gently pull the membrane back from the edge (Image 2) and grab the little flap you create.
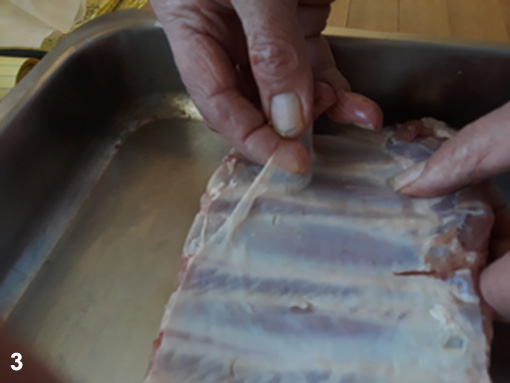
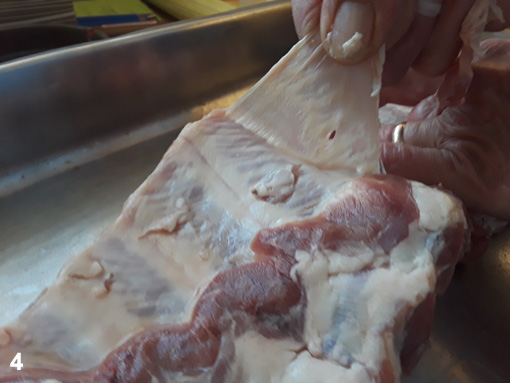
Work the balls of your fingers under the membrane (image 3) until you can grab it and strip it off, (image 4), leaving the delicate lower membrane intact (images 5 & 6).
|
|
| Step 2
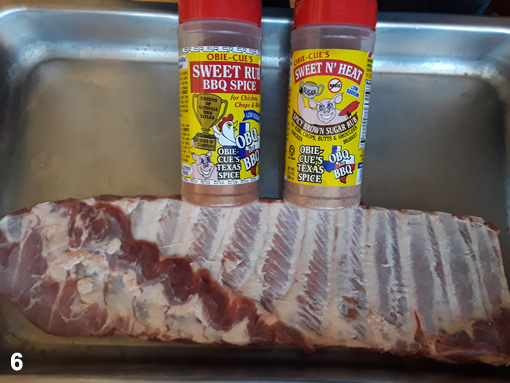
Mist the ribs with apple juice and sprinkle on a moderate coat of Sweet Rub.
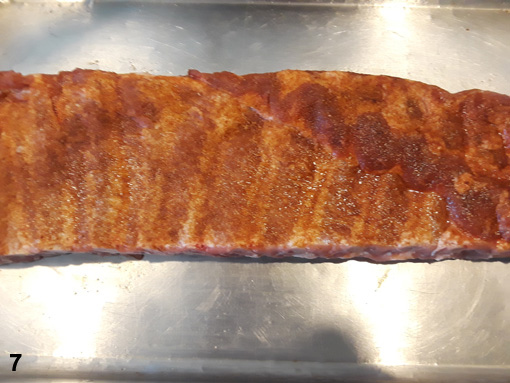
You want to completely cover the back (image 7) and front (image 8) surfaces, but don’t want the coat of Sweet Rub to block smoke.
The ribs should be bright red, with the meat is still visible through the spice (7 & 8). The SWEET RUB gives you both beautiful color and a richer flavor. Cover the ribs, and let them stand for 2-3 hours to let the flavors get into the meat. I call this “dry marinating”.
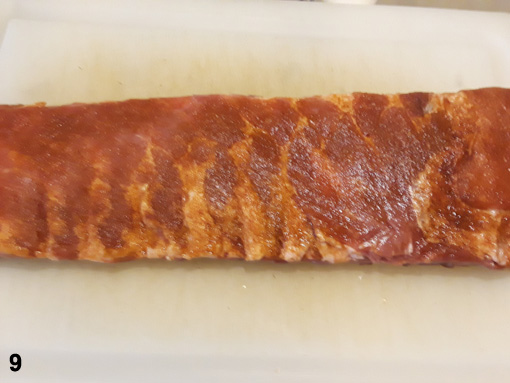
Image 9 shows the ribs after 2 hrs, and comparing, images 8 & 9 shows how the SWEET RUB melts down into the pig. |
|
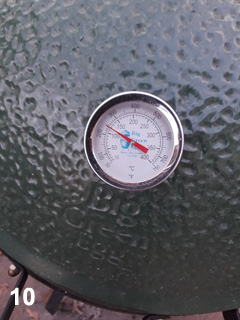
| Step 3
Smoking: We’ll smoke the ribs with indirect heat at 250-275 degrees (image 10), so I scrape all my fire over to one side and put the ribs on the other side.
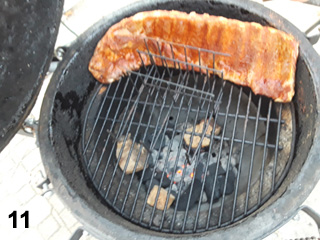
I greatly prefer using a rib rack because it’s a more efficient use of space, and it slows your cooking time so you get more smoke. I ring the lit charcoal with a bunch smokewood and some unlit charcoal, which will gradually ignite and extend the burn time.
Image 11 shows my set-up, and note that I started the ribs upside down and backwards, so that the thickest and boniest part is facing the fire initially, when the heat is strongest and flare-ups are more likely. I’ll turn the ribs right side up and forward after 45 minutes, with one more turn at 90 minutes. The pig will absorb more smoke after it gets well-warmed, so use the heaviest smoke later. |
|
| Step 4
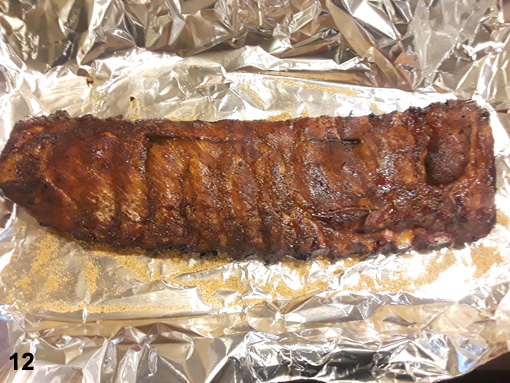
Tenderizing: When the ribs have turned a luscious mahogany color and shrunk enough to show ¼ inch of bone tip, the flavor is right and they’re ready to tenderize.
Pull ‘em off the fire, and put them meaty side-up on a large piece of foil (image 12). Mist with apple juice and sprinkle on a heavy coat of SWEET N’ HEAT.
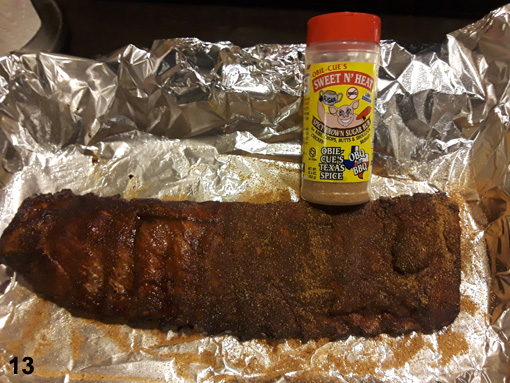
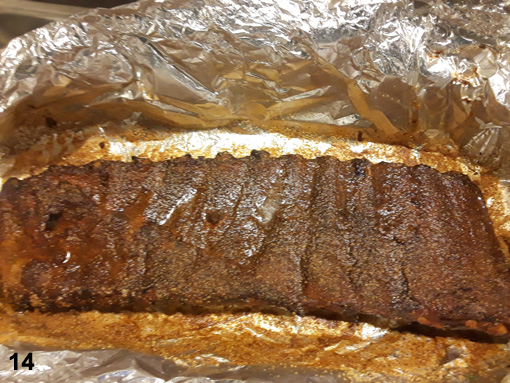
Image 13 shows the ribs with half a coat of SWEET N’ HEAT, and image 14 shows the full coat.
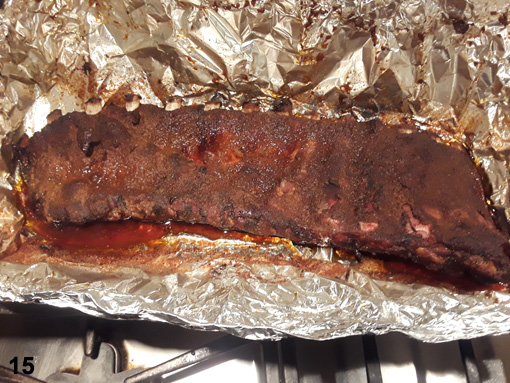
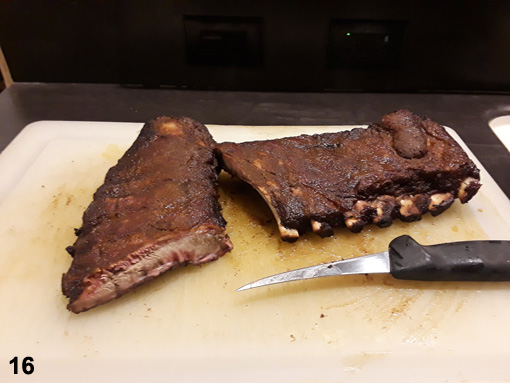
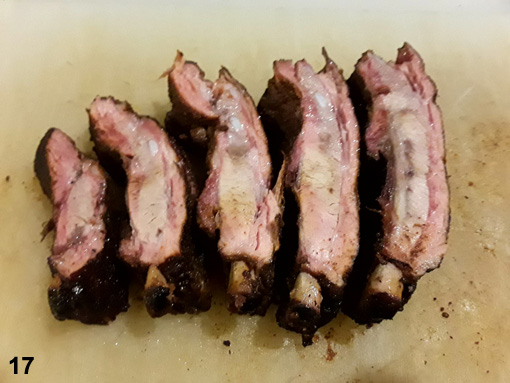
Turn the meaty (front) side down and heavily coat the back, then add 2-3 tablespoons of apple juice and seal the ribs in the foil.** Continue cooking at 250 degrees on your pit or in the oven until tender, another 1½ -2 hrs. If both ends sag way down when you lift the rack by it’s center—they’re done. Images 15, 16, & 17 show the finished ribs, but they don’t show the big smiles you’ll get!
|
|
| Step 5: A tip
**Finishing the ribs wrapped in foil helps you in three ways. First, you tenderize the ribs by steaming them in their own juices. Second, you avoid the “slump”, the slow-down caused by the ribs evaporating enough fluid to cool themselves, and finally the saturated atmosphere inside the foil drives all the flavors on the surface deeply into the ribs. Plus you retain all the “rib juice”: the powerfully flavored aus ju which is an excellent condiment for the ribs. (Just let it stand and remove the fat that rises.) I’ll even add a few tablespoons of aus ju to mashed potatoes or rice for a spectacular side dish. Finishing in foil also saves you work in two other ways…first there’s no more smoke getting to the meat, so you can cook them in the oven from here on, and they’re already wrapped and ready to travel for a tailgating party. |
|
| Slice and serve, and enjoy smoky flavor in every bite! |